
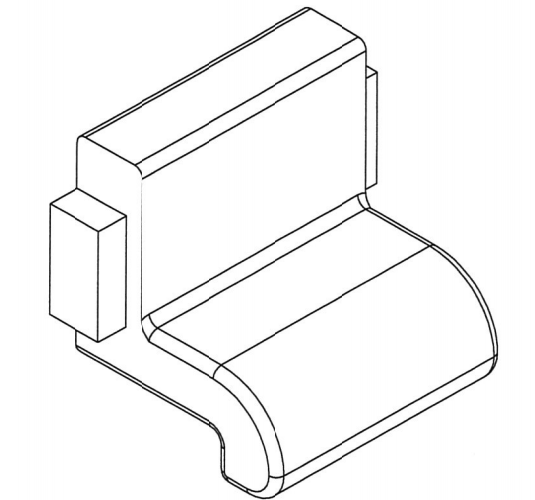
Lower clamps are essential components used in various mechanical and structural systems to secure or hold parts in place. Precision casting, also known as investment casting, is an ideal manufacturing method for producing lower clamps due to its ability to create complex shapes, high strength, and excellent surface finish. This guide outlines the steps to prepare for the precision casting of lower clamps.
Step 1: Design and Engineering
- Define Functional Requirements: Determine the load-bearing capacity, clamping force, and environmental conditions the clamp will operate under.
- Create a 3D CAD Model: Design the lower clamp with precise dimensions, including clamping surfaces, mounting holes, and any intricate features.
- Optimize for Casting: Incorporate draft angles, fillets, and machining allowances to ensure the design is castable and meets performance standards.
Step 2: Material Selection
- Choose the Right Alloy: Select a material that offers the necessary strength, durability, and wear resistance (e.g., 4140 steel for high strength or stainless steel 304 for corrosion resistance).
- Verify Material Properties: Ensure the alloy is suitable for precision casting and can withstand the operating conditions of the application.
Step 3: Pattern and Mold Preparation
- Fabricate a Wax Pattern: Use injection molding or 3D printing to create a precise wax replica of the lower clamp.
- Assemble the Pattern Cluster: Attach multiple wax patterns to a central sprue to enable batch production.
- Build the Ceramic Shell: Dip the cluster into a ceramic slurry and coat it with refractory sand. Repeat the process to create a thick, heat-resistant shell.
- Cure and Dewax: Allow the ceramic shell to harden, then melt out the wax to leave a hollow cavity for casting.
Step 4: Casting Process
- Melt the Alloy: Heat the selected material in a furnace to the required pouring temperature.
- Pour the Molten Metal: Carefully pour the molten alloy into the preheated ceramic mold, ensuring it fills all intricate details of the lower clamp.
- Control Cooling: Allow the mold to cool gradually to minimize internal stresses and prevent defects.
Step 5: Post-Casting Operations
- Remove the Ceramic Shell: Break away the ceramic mold to reveal the raw casting.
- Cut and Separate: Detach individual lower clamps from the cluster using cutting tools.
- Clean and Finish: Remove any residual ceramic material and perform surface finishing, such as grinding or polishing, to achieve the desired surface quality.
- Inspect for Defects: Use non-destructive testing methods (e.g., X-ray or ultrasonic testing) to ensure the clamps are free of flaws.
Step 6: Machining and Heat Treatment
- Machine Critical Features: Perform precision machining on clamping surfaces, mounting holes, and other critical areas to meet tight tolerances.
- Heat Treatment: Apply heat treatment processes, such as quenching and tempering, to enhance the clamp’s strength and wear resistance.
- Assemble and Test: Integrate the lower clamp into the final assembly and conduct functional tests to ensure it meets performance standards.
Conclusion
Precision casting is a highly effective method for producing lower clamps with complex geometries and exceptional performance characteristics. By following this guide, you can ensure the production of high-quality clamps that meet the demands of your application. Collaboration with experienced foundries and meticulous attention to detail will further enhance the success of your casting project.


